



Factory expansion projects look easy on the layout drawing: draw a new rectangle on the right side of the plant, add a few machines, run a cable tray line off the existing trunk. In real life, extending an existing cable tray route is one of those jobs that always takes longer than planned. The new tray does not quite match the old tray, the existing run is carrying live cables you cannot touch, and the wall you wanted to drill through turns out to be structural. Most of the pain comes from skipping the survey and jumping straight to ordering.
BDCABLETRAY has supplied extension sections for factories that have been running for 5, 10, even 20 years — connecting new lines to original tray systems that were installed long before any of the current maintenance team were on site. This guide walks through the five steps that make an extension project go smoothly, and the mistakes that turn a two-week job into a two-month headache.

Why Extending an Existing Route Is Not a Copy-Paste Job
Greenfield factory tray is easy: you draw the route, pick the spec, order it, install it. An extension project is different in three ways that change how you plan.
You have to match what is already there
If the original plant used 300 mm wire mesh tray, ordering a 300 mm solid trough extension creates a transition nightmare. Even when the new tray is technically fine, your maintenance team now stocks two sets of couplers, two cover profiles and two support brackets. Match the existing spec wherever you can, unless there is a hard technical reason to change.
The existing run is probably live
In a greenfield build, the tray is empty when you install it. In an extension, the existing trunk carries power, control and data cables that are feeding a running production line. You cannot just unbolt a section and slide in a new piece without a plan for the cables that are already sitting in it.
You are discovering hidden constraints
Original drawings rarely show everything that has been added over the years: a new HVAC duct, a sprinkler line, a catwalk, a fire-rated wall. Every extension project starts with a survey, and every survey turns up at least one thing the as-built drawing missed. Budget time and money for surprises.
Step 1 — Survey the Existing Route Before You Draw Anything
The cheapest thing you can do on an extension project is spend a day with a tape measure and a camera before you order anything. Most extension delays trace back to a survey that was done from the drawing, not from the floor.
Identify tray type, size, material and finish
Walk the existing route from end to end. Note the tray type (wire mesh, ladder, solid bottom, trough), the width and depth, the material (galvanized, stainless, aluminum), and the finish (pre-galvanized, hot-dip, powder coat color). Measure a couple of sections with a caliper — the nominal size on the drawing is often not what is actually there. Write all of this down on a route sketch.
Check support spacing and condition
Look at how the existing tray is supported: wall brackets, trapeze hangers, freestanding posts. Measure the actual support spacing — it may be 1.5 meters on the drawing but 2.2 meters in real life. Check whether the old tray is sagging, rusting or has been patched before. A sagging existing run is a clue that the old support spacing was marginal, and your extension should not copy it.
Photograph and label every section
Take photos at every joint, every bend, every wall penetration. Label them by route section. When you sit down with your supplier a week later, these photos answer questions you have already forgotten. “What does the splice look like on the old run?” — you have a photo, not a guess.
Step 2 — Decide: Match, Upgrade, or Hybrid
Once you know what is there, you have three choices. The wrong choice here is expensive to undo later.
Matching the existing spec
This is the default and the right choice for most extensions. Order the same tray type, width and finish. Your spare parts, install crew skills and maintenance procedures all stay the same. The only reason not to match is if the new machines genuinely need more capacity than the old run provides.
Upgrading where load has grown
If the new machines add a lot of cable load to the existing trunk, you may need a wider or deeper tray on the new section. That is fine — but plan for the transition. A 300 mm old run meeting a 450 mm new run needs a factory-fabricated reducer, not a field-bent improvised connection.
Hybrid at the transition, matched beyond it
Often the best answer is a hybrid: use a transition piece where the old route meets the new, then standardize the new section on whichever spec you will use going forward. The hybrid section is a small, one-time cost. The rest of the new extension can be chosen for the next 10 years, not forced to match a 15-year-old decision.
Step 3 — Bridge the Transition Cleanly
The joint between old and new is where most extension projects fail. Done badly, it leaks water, sags, or becomes a maintenance trap. Done well, you barely notice where one run ends and the other begins.
Use factory-fabricated transition fittings
When tray types or sizes change, use a purpose-built reducer or adapter — not a field-bent piece of sheet metal. Reducers, offsets and wall entries should be ordered with the rest of the extension, measured from your survey. Field-fabricated transitions almost always leak, rattle or eventually fail at the weld.
Add an extra support at the joint
Every splice between two tray sections is a structural weak point. On an extension, add an extra support within 300 mm of the transition. This is especially important when the old tray has sagged over the years — the extra support takes load off the joint and prevents the old run from sagging further once you bolt on new weight.
Keep earthing continuity
If the existing tray is bonded to the plant earthing system, the new section needs to be bonded too. Add an earthing jumper across every splice on the new run, and connect the new tray to the nearest earthing point. Missing earthing continuity is the kind of thing that passes installation but fails the next electrical inspection.
Step 4 — Work Around Live Cables and Minimize Downtime
This is the part that separates extension work from new installation. The existing tray is live, and the line is running. You cannot stop production for a week just to extend a cable run.
Plan the hot-work and cable-pull windows
Sit down with production scheduling and agree on the exact windows when the line can be paused. Most extensions need only short windows — a 4-hour overnight stop to make the final splice, a weekend to pull the new cables. Plan the work so that 90% of the installation happens without touching the live run, and the live connection is a small, well-practiced operation.
Temporary supports for live sections
When you have to unbolt a live section to insert a new piece, support the old run from below before you open the splice. A rolling tray full of live cables is a safety incident waiting to happen. A couple of temporary chains or adjustable props take five minutes to install and save a serious accident.
Lock-out, tag-out on everything you touch
Every circuit you are near — even if you are not working on it — gets isolated and tagged. This sounds like obvious safety practice, but on extension projects where the pressure is on to “just make a quick connection,” corners get cut. The LOTO paperwork is the cheapest insurance you will buy on the whole job.
Step 5 — Document and Future-Proof
The project is not done when the tray is bolted up. It is done when the next engineer who walks the route can understand what they are looking at.
Update the as-built drawings
Photograph the finished route, note the transition points, and update the plant’s cable schedule. The next expansion in five years will thank you. If you do not update the drawings, the next engineer will repeat your survey — and make the same discoveries you made, at your expense.
Leave headroom for the next expansion
When you choose the size of the new section, size it for 30% more cable than you need today. Factories almost always expand again, and oversizing the tray now is far cheaper than adding a second parallel run later. Leave a spare pull box or an open-ended trunk cap at the new end so the next extension can be made without removing the ceiling.
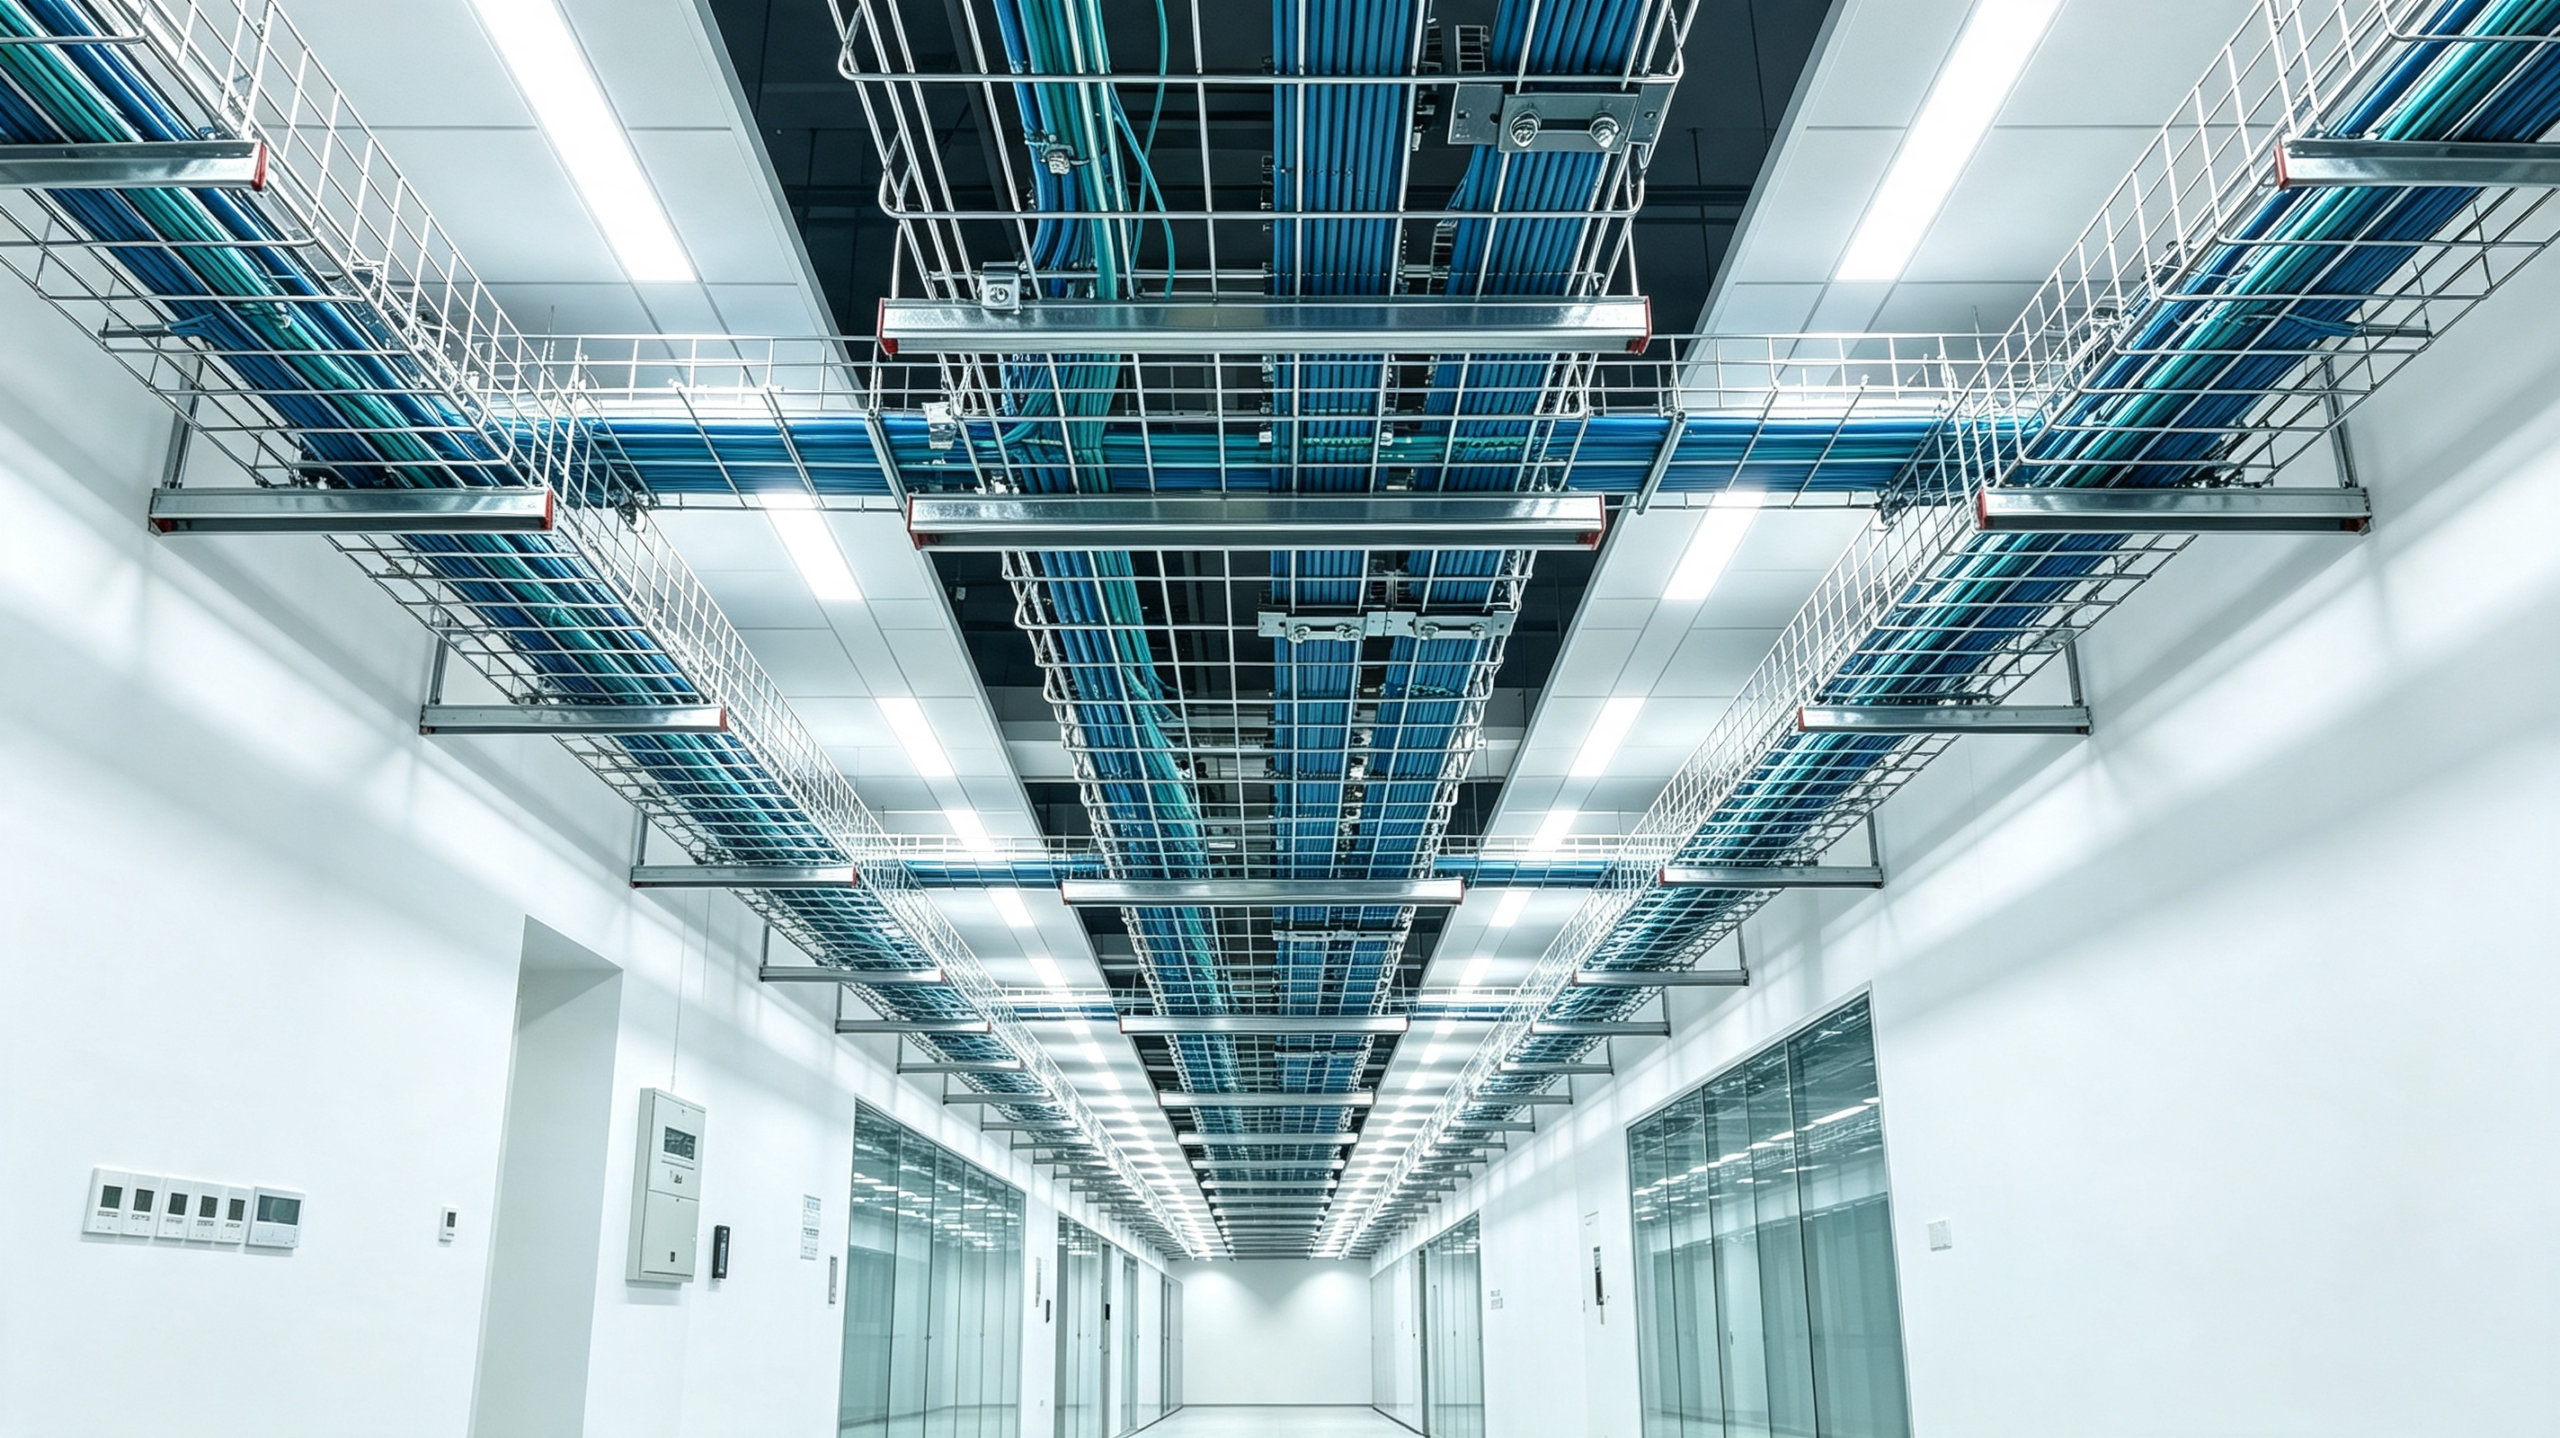
Why BDCABLETRAY Supports Factory Expansion Projects
BDCABLETRAY has supplied extension sections that connect to tray systems installed decades ago — matching wire mesh to wire mesh, ladder to ladder, and fabricating custom reducers between the two. We do not just sell you new tray; we help you think through the survey, the transition and the install plan, because we know what goes wrong when an extension is treated like a small greenfield order.
Send us a few photos of your existing route, a sketch of the new machines you are adding, and the cable schedule. We will come back with a recommendation on match vs upgrade, a list of transition fittings, and a plan for the joint that minimizes your production downtime.
If your plant is expanding and you need a supplier that thinks through the extension joint as carefully as the new tray itself, contact BDCABLETRAY. We reply within one working day with a starter BOM and a survey checklist you can take to the floor.
FAQ
1. Can I mix new wire mesh tray with an existing ladder tray run?
Yes, with a purpose-built transition fitting. You cannot bolt them directly together — the profiles are different. We fabricate a custom adapter that connects the ladder flange to the mesh frame, with proper support at the joint. This is common on expansion projects and we will design the transition from your photos.
2. How do I match an old tray when there are no drawings?
Measure it on site: width, depth, wire gauge or sheet thickness, mesh opening, finish. A photo of a cross-section and a couple of caliper readings are usually enough for us to match or recommend a near-equivalent. We can also send a small sample section so you can check the match before ordering the full extension.
3. Do we have to stop production during the extension?
Most of the installation happens without touching the live run. The final splice to the existing trunk usually needs a short planned stop — typically 2–4 hours, often scheduled overnight or over a weekend. We will help you plan the sequence so the live work is the smallest possible window.
4. How much wider should the new section be than the current one?
A good rule is to size the new run for 30% more cable than today’s load, so the next expansion does not need a second parallel tray. If you are connecting to an older run that was undersized, use a reducer at the transition and let the new run be the larger size going forward.
5. Can you supply just the transition pieces, or do we have to order the whole run from you?
We supply everything from a single custom reducer to a full extension BOM. If you already have a local source for the straight sections and only need a few fabricated transitions, we are happy to quote just those. Send us the dimensions and we will quote the pieces you actually need.